01 09 10

Wednesday, February 13, 2013

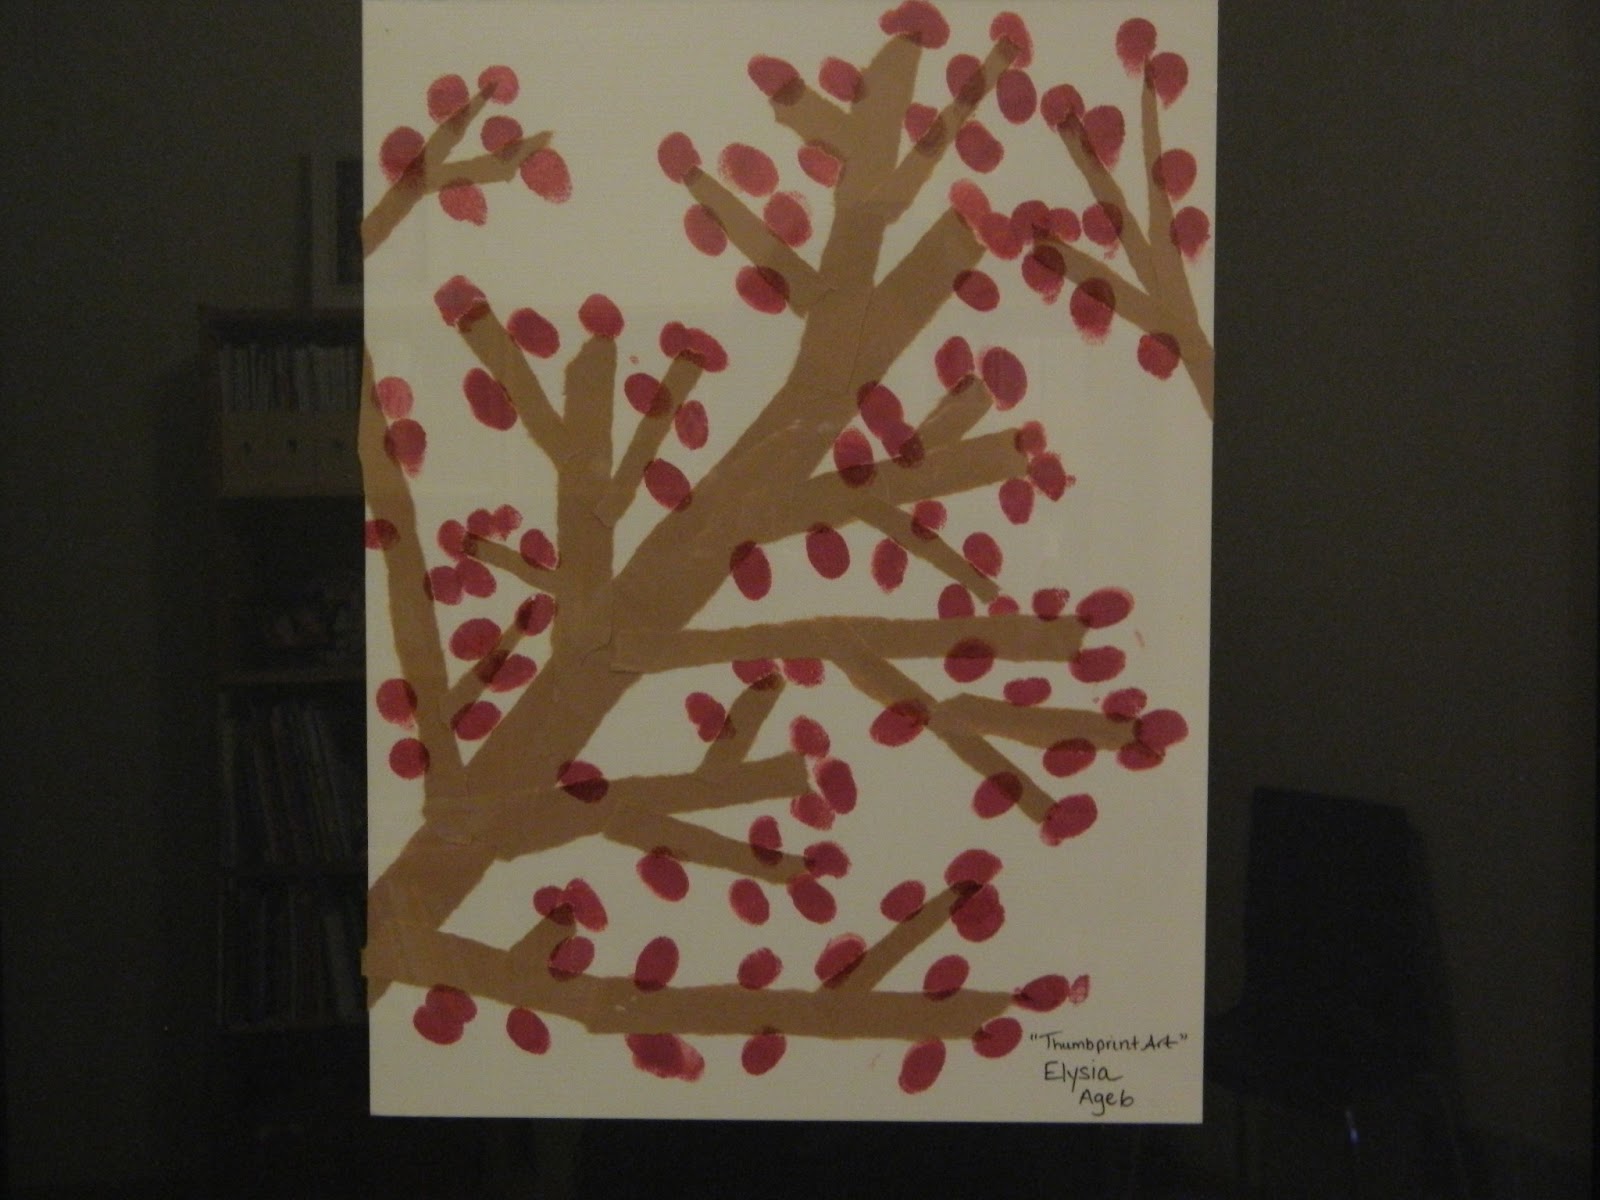
Thumb Print Tree Art


I LOVE art created by kids.  We frame and hang it at our house! 
  
This is what we did:
  1. We gathered two pieces of white card stock paper, brown construction paper, a glue stick, and a red ink pad with washable ink. One piece of card stock per child.
  2. We ripped strips of brown construction paper and glued it onto the white card stock.  We did this step numerous times to make it look like a tree branch. We also made sure that all ends of the paper had a ripped look instead of a straight edge.
  3. After the branch was created with paper, my two daughters each stuck a thumb into the red ink pad and pressed it onto the paper; creating flower buds and/or berries.

I LOVE this artwork made by my two daughters.  It's a favorite of mine.  I bought inexpensive black frames and black poster-board.  I cut the black poster-board to fit the frame and attached the artwork directly to the poster-board with tape.  No framing mat needed!  I LOVE that.  I can easily change out the artwork and not have to worry making sure it will fit the framing mat!

Paper Streamer Fun


We needed something active to do to stay cool during a hot summer day!   Perhaps we will try this activity again this weekend.  Minnesota winters can be cold!


This is what we did:


  1. I gave the girls some paper streamers and wall-safe tape (I used blue painters tape). 
  2. I told the girls to "go crazy" with the streamers; taping the streamers from one side of the room to the other to create a paper streamer maze.  It got interesting, but was a lot of fun!  
  3. Once they found their way out of the streamer maze, I asked the girls if they could start on one end of the paper streamer maze and climb through to the other without pulling the streamers off the wall!  

The girls LOVED it.  It kept them busy for awhile and there was a lot of laughing!  As a mom, I LOVED it to.  The kids set it up and the kids took it down!  You gotta LOVE that!  This type of streamer maze is adaptable to most indoor settings.  Use a hallway if you'd prefer to use less paper streamers!  Next time we do this activity, I may try using paper streamers in rainbow colors. Wouldn't that be LOVELY?

The Green Onion Experiment

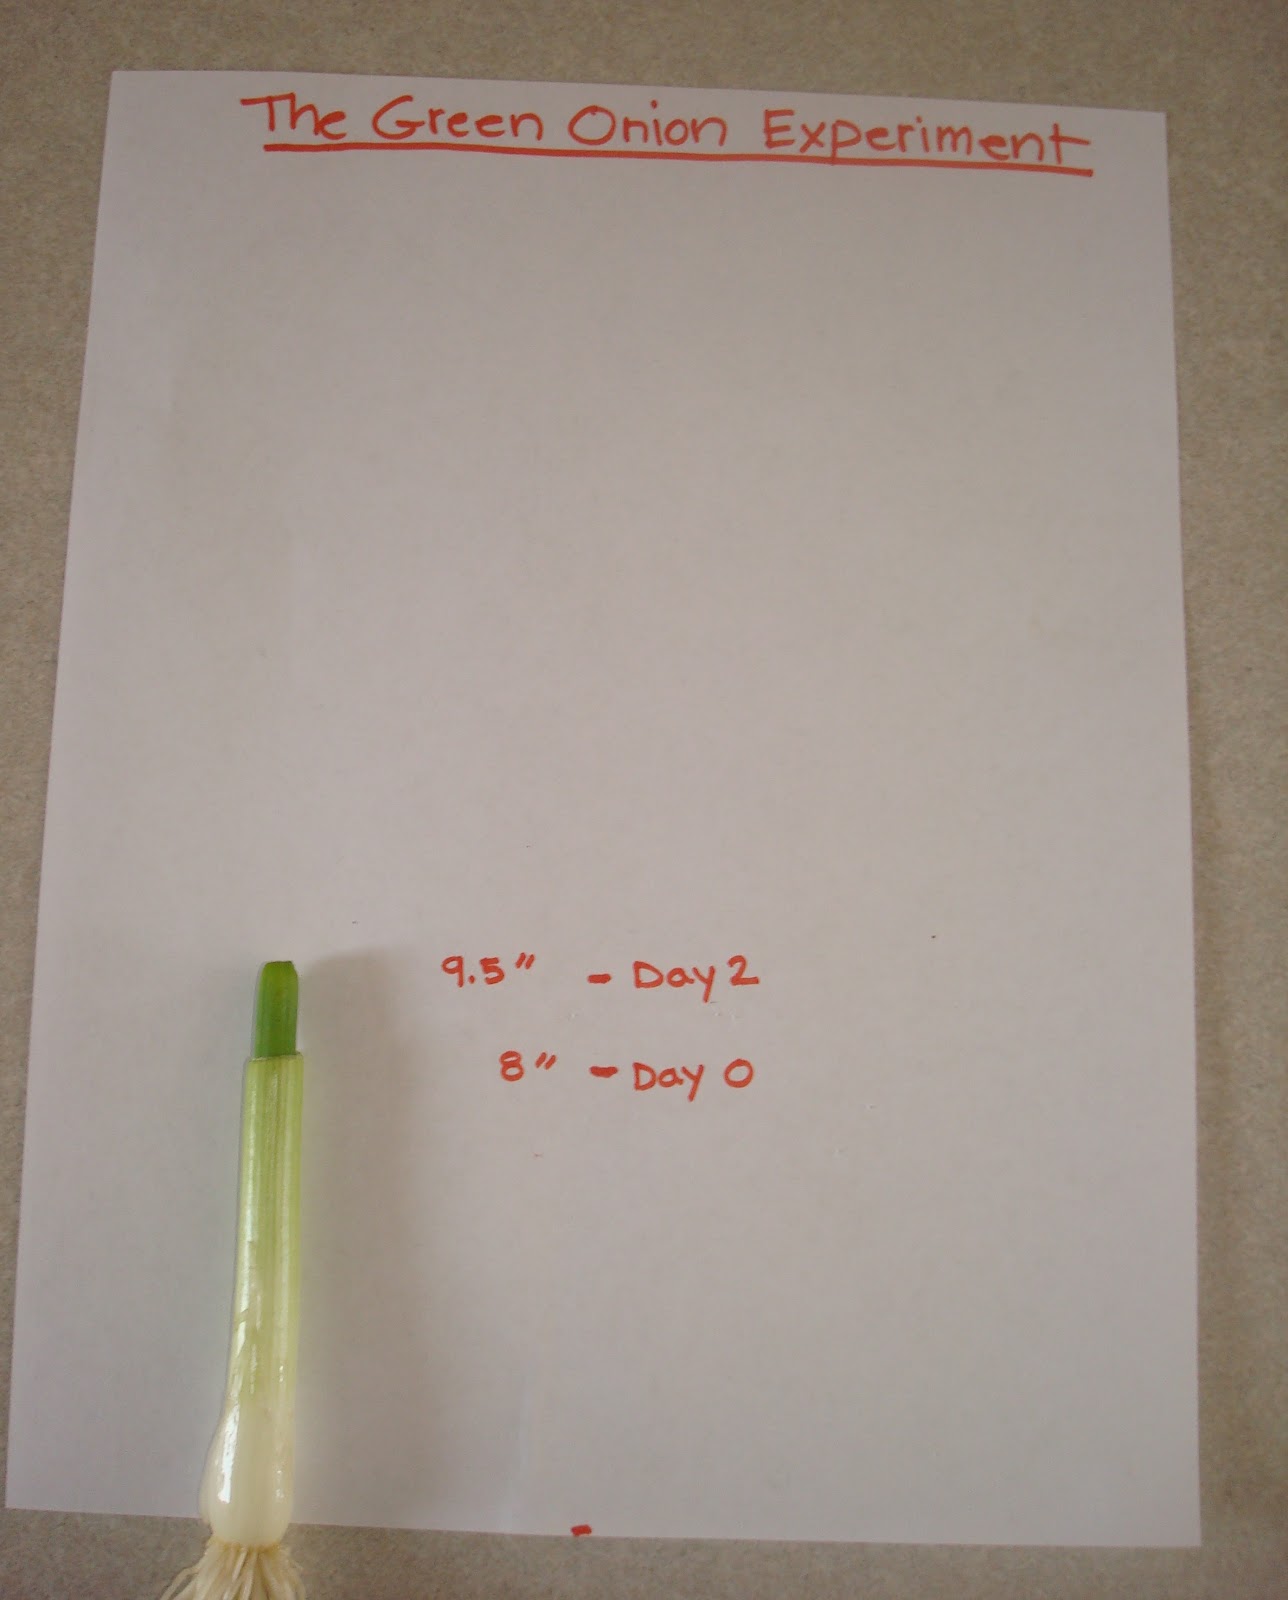
My Big Guy came home from preschool excited after learning how to take measurements with a ruler.  He LOVED measuring different things in our house!  His teacher gave him "homework" to help improve his skills and he thought it was wonderful.  We decided to help improve his ability to measure by watching a green onion grow.  We are on our second day and its proving to be a fun and easy little activity.

This is what we did:


  1. I purchased green onions from the grocery store and made a really yummy potato soup!
  2. After I used the onions, I placed them in a glass on our kitchen windowsill.
  3. We are watching them grow until they are big enough for us to eat again.
  4. Every couple of days we will measure and mark down how much they have grown.
  5. I will show the boys what an inch looks like on the ruler and have them make a guess as to how much they think the onions have grown before we actually measure it.
It's fun to watch and measure the onions because they grow so quickly.  In only two days they have grown an inch and a half!  Wow!  LOVE it!


This is a really quick video from youtube:  Here  It will show you how quickly a green onion grows!  Kind of amazing  (at least in my little world) :)

Tuesday, February 12, 2013

Paper Plate Turkey

Gobble Gobble!  The boys made a paper plate turkey craft for Thanksgiving.  I LOVE how they turned out.

This is what we did:


  1. I traced a circle in the middle of the plate for the boys to be the head of the turkey.
  2. My Big Guy used watercolors to paint feathers around the entire plate.
  3. He painted the head a solid color.
  4. I cut a little triangle for a beak.
  5. He added BIG googly eyes.
  6. He taped a variety of feathers to the back of the plate.
  7. We should have added a goblet...next year. :)
This was one of our favorite turkey crafts.  My Big Guy spent a lot of time coloring the feathers - more than a half hour!  He really enjoys painting!  The Little Guy used a dobber/dot art to color his!

Chalkboard Frame

Faith, Hope, and Love.  The greatest of these is LOVE ! (I Corinthians 13:13) I decided to stay home with my kids about a year ago.  Now that I do, I've taken a greater interest in changing my home decor to reflect the season.  However, I now stay at home with my kids so my budget is a bit more limited!  I grabbed an idea from a friend (who has a beautiful home and a great eye for design - Amanda are you reading this?) and created a chalkboard frame to hang over my mantel.  When I hosted the family Christmas party my brother-in-law thought I bought it!! :)

This is what I did:

  1. I purchased a cheapo frame at Walmart.
  2. I purchased a small bottle of black chalkboard paint from Walmart too.
  3. I painted the back of the frame with the  paint.  It took two coats to cover it completely.
  4. I've been changing out the saying.  For Christmas it read:  Joy to the world!  The popular:  Faith, Hope, and Love is for Valentine's Day.  I'm not sure what will be next!
This spring and summer I think I'll try to find non-reflective glass at a garage sale or the thrift store!  Like my reflection in the glass?  LOVELY!

Baby Yourself

Who doesn't LOVE the smell of a newborn baby or any baby for that matter!  Have you ever thought about bringing that smell home?  I have and did.  You can too and it's so easy.


This is what I did:

  1. I bought baby shampoo.  Any brand will do but I chose Johnson's.
  2. Instead of using liquid soap, I filled my soap dispenser with  baby shampoo.
Now I enjoy the smell of a baby every time I wash my hands and it's so gentle on my skin.

Burn A Sign

My family LOVES to camp and if you do too, you know that camping and rain go hand in hand.  Getting wet and cold is not my idea of fun so when it's storming outside, we put our heads together and do some "storming" of our own, "brainstorming" that is.  Fortunately a campground we LOVE to go to provides free slab fire wood, and it didn't take us long to discover that some pieces are just too nice to throw into the fire.  So what could be better than to repurpose it and make some signs!


This is what I did:
  1. I found a piece of wood.  Mine was a 1" x 6" board 17" long but any size will do.
  2. I traced a picture of a deer and penciled my message.
  3. I woodburned on top of the penciling.
  4. I drilled two holes and inserted twine for hanging.  If you don't have a drill, you can also pound holes with a nail and hammer then insert wire for hanging.
When I got home I hung it on my front deck to welcome friends and family.  I chose not to lightly stain nor varnish it because I prefer the weathered look.  I LOVED making it my own!  Next time I might use a favorite quote.